

Vending Machine Layout Guide: What to Put Where
When I first started managing vending machines, I thought the hardest part was choosing which snacks to sell. But I quickly learned that where you place each product inside the machine matters just as much as what you stock. A smart vending machine layout can increase sales, reduce product jams, and improve the overall customer experience.
In this post, I’ll share what I’ve learned over the years about how to organize your vending machine like a pro. Whether you’re stocking snacks, drinks, or a combo unit, this vending machine layout guide will help you maximize space, profit, and customer satisfaction.
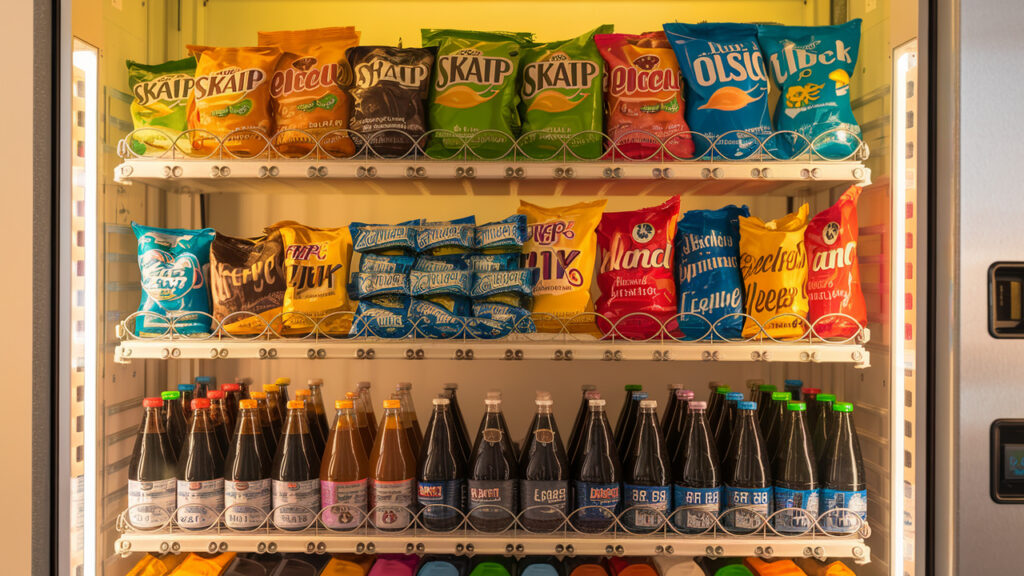
Table of Contents
The Top Rows: Eye-Level, High-Impulse Snacks
This is prime real estate. I always reserve the top 1–2 rows for my best-selling snacks—usually things like candy bars, chips, and cookies. These items sell well because they’re immediately visible when someone walks up to the machine.
For example, I place Snickers, Lay’s Classic Chips, and Oreos right at eye level. These are snacks that practically sell themselves, and putting them up top ensures they get noticed first. If I’m running a promotion or introducing a new product, I test it here for higher visibility.
The Middle Rows: Healthy or Specialty Snacks
I’ve found the middle rows are ideal for healthy snacks, granola bars, trail mix, or items marketed to parents, fitness enthusiasts, or health-conscious buyers. These customers tend to take a few more seconds to browse, so placing these items in the center gives them space to decide.
Sometimes I also use this area for diet-specific items like gluten-free cookies or protein bars. These buyers are intentional, and they tend to look through the machine more carefully before making a choice.
Bottom Rows: Bulkier Items and Lower Demand Snacks
The bottom rows are best reserved for larger items or lower demand products. This includes things like Pop-Tarts, crackers, or backup snacks that don’t sell out as quickly. If an item is heavier, it’s safer to put it lower to avoid drop damage.
From my experience, people rarely crouch down to browse these shelves unless they’re really curious or in no rush. That’s why I don’t place high-margin or experimental products here—it’s just not where attention goes naturally.
Drinks: Heaviest at the Bottom, Water in the Middle
For drink machines or combo units, I always put water and energy drinks in the center. That’s where people tend to look first. I place sodas and heavier cans or bottles on the bottom rows so they don’t fall too far and risk breaking.
Juices or kid-friendly options like Capri Sun go near the top if your location includes families or youth groups. I usually avoid stocking glass bottles in machines entirely, especially in churches or schools—too risky and not worth the mess.
Left-to-Right: Group by Category or Color
People tend to scan vending machines from left to right, so I group my snacks that way. I start with candy on the far left, followed by chips, cookies, granola bars, and specialty items on the right. This layout helps customers find what they’re craving faster.
If you want to go a step further, group by color or brand. I’ve done themed rows before (like all Frito-Lay products or all chocolate snacks), and it makes the machine look clean and appealing. The visual organization alone can increase sales.
Reserve a Row for New Products
I always dedicate one row to testing new snacks. Whether it’s a new protein bar, a local snack, or something trending, having a “What’s New” row lets you rotate inventory and see what sticks. Customers who visit regularly appreciate the change—and it’s a great way to gather sales data.
If the product sells out quickly, I move it up in the machine. If it doesn’t perform, I rotate it out without hurting overall layout balance.
f the product sells out quickly, I move it up in the machine. If it doesn’t perform, I rotate it out without hurting overall layout balance.
How to Handle Limited Space
If you’re working with a small vending machine, you have to be selective. In those cases, I use the top two rows for high-sellers only, and split the rest evenly between snacks and drinks. Avoid overcrowding—it’s better to have 6 popular items than 12 poor performers.
Use dual spirals for chips or wide snacks to prevent jams. I’ve also installed adjustable trays to make more room for taller drinks in the bottom half of the unit. Just check the machine specs before attempting modifications.
Don’t Forget Accessibility
One mistake I made early on was putting allergy-safe or essential items too low. Now, I always place things like nut-free snacks, sugar-free options, or basic water bottles within reach of kids, wheelchair users, or seniors. Accessibility matters, and it also increases your customer base.
Keep Replenishment in Mind
Your layout should also make restocking easier. I keep similar items grouped in adjacent rows so I can refill quickly without opening multiple cartons. If I get a shipment of mixed candy bars, it’s faster to restock rows that are already arranged by type.
This small trick has saved me hours over the course of a year. Time is money when you’re managing multiple machines.
Final Thoughts
Designing the right layout inside your vending machine isn’t just about aesthetics—it’s about function, psychology, and sales strategy. By paying attention to eye-level placement, product weight, category groupings, and customer behavior, I’ve been able to dramatically boost my vending profits.
Whether you’re managing one machine in a church lobby or multiple units across community centers, trust me—what you put where absolutely matters. It took me trial and error to figure out the sweet spots, but once I did, things ran smoother and sales went up.